
Blog
Guide to Flooring Profiles, Beading and Types and Uses
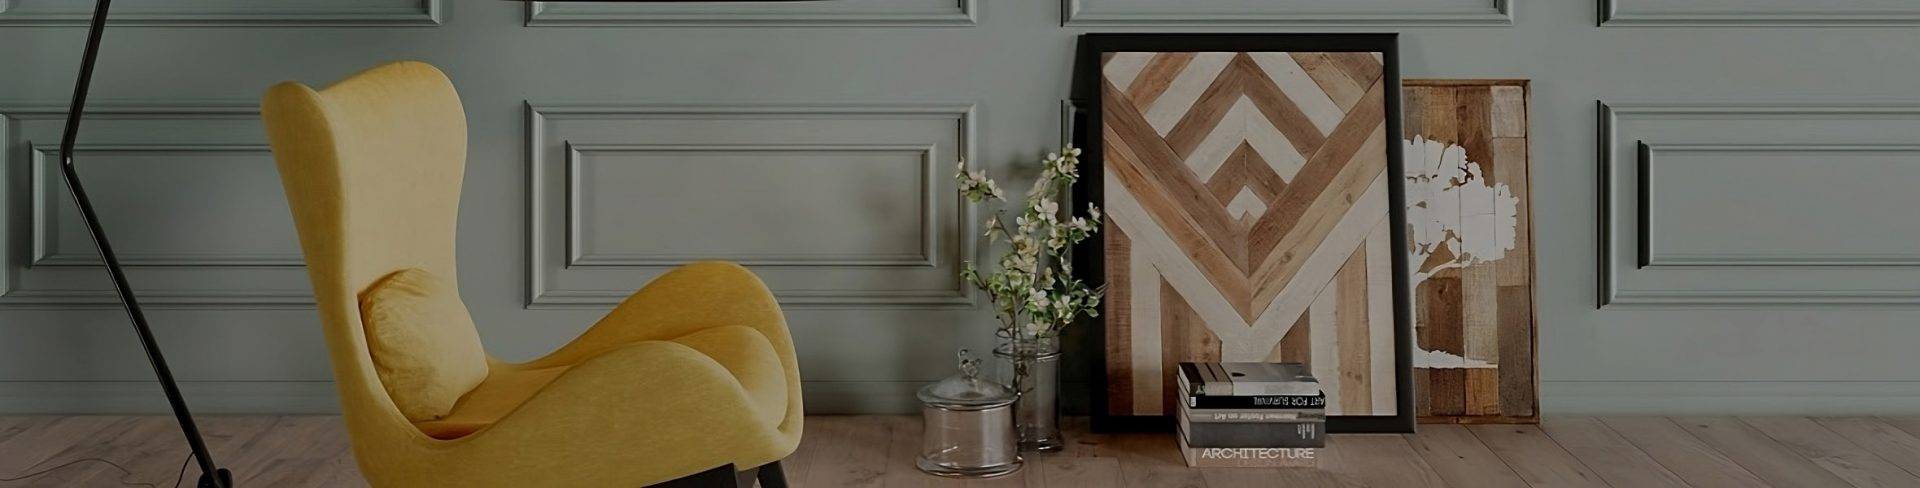
When planning a new floor or renovation, most attention naturally goes to the flooring itself. However, it’s often the finishing details that truly define the overall result. Flooring profiles, beading, and trims are essential for creating a polished, professional look while also ensuring your floor performs properly over time.
From concealing expansion gaps to creating seamless transitions between rooms, understanding the types and uses of these finishing elements will help you achieve a flawless installation.
At QA, we know that the right finishing touches can elevate a good floor into a great one.
What Are Flooring Profiles and Beading?
Flooring profiles and beading are finishing strips used to cover expansion gaps, protect exposed edges, and create smooth transitions between floor surfaces or where the floor meets the wall.
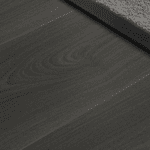
All wood and laminate flooring expands and contracts with changes in temperature and humidity. For this reason, installers leave a small expansion gap around the perimeter of the room. Without proper finishing, this gap would be visible and vulnerable to dirt and damage.
This is where floor beading, flooring trim, and beading for flooring come into play. They neatly conceal the gap while allowing the floor to move naturally underneath, protecting both the structure and appearance of the installation.
In this guide, we’ll cover the main categories:
- Beading types (scotia, quadrant, flat)
- Edging strips
- Transition strips
Each plays a key role in ensuring your flooring looks complete and performs as it should.
Scotia Beading – What It Is and When to Use It?
Scotia beading is one of the most widely used finishing trims in flooring. It features a concave, quarter-round profile that fits neatly into the corner where the floor meets the skirting board.
The primary purpose of scotia beading is to cover expansion gaps around the perimeter of laminate, engineered wood, and Click LVT flooring. It’s especially useful in renovation projects where existing skirting boards are left in place.
At QA, we frequently recommend LVT or laminate scotia beading as a practical and cost-effective solution for achieving a clean finish without removing skirting boards.
Scotia is available in a wide range of finishes, including white scotia beading, oak scotia beading, pine, and grey. This allows you to either match your flooring for a seamless look or introduce a subtle contrast.
A key installation detail is that scotia should be fixed to the skirting board rather than the floor. This ensures the flooring can expand and contract freely beneath it, preventing issues such as lifting or warping over time.
Whether you choose classic oak tones or modern painted finishes, scotia remains a reliable and versatile option.
Quadrant Beading – How It Differs from Scotia
Quadrant beading performs the same function as scotia but offers a slightly different visual finish.
Instead of a concave shape, it offers a convex, quarter-circle profile. This gives it a more rounded and defined appearance, sitting flush against both the wall and the floor.
Because of its shape, quadrant tends to be slightly more noticeable than scotia, making it a popular choice in modern interiors where sharper lines and defined edges are preferred.
Options such as white quadrant beading work particularly well in contemporary spaces, while natural wood finishes can complement traditional or rustic flooring styles.
Standard sizes like 25mm quadrant beading and 18mm variants provide flexibility depending on room size and flooring thickness.
At QA, the decision between scotia and quadrant often comes down to personal preference, both offer excellent performance when installed correctly but our preference is for scotia.
Flat Beading and Other Edge Profile Types
For a more subtle finish, flat beading for laminate flooring is a great alternative. Unlike rounded profiles, flat beading sits closer to the floor surface, creating a clean, minimal look.
This makes it particularly popular in modern interiors where understated design is key.
There are also several important laminate flooring edging alternatives to consider:
- T-bars: Used to join two hard floor surfaces at the same level
- End caps or threshold strips: Ideal for doorways or where flooring meets an exposed edge
- Floor edge moulding: A broader category of trims designed to protect and finish edges
Choosing the right click LVT or laminate flooring edge trim depends on your layout and how visible you want the finishing detail to be.
Each option plays a role in ensuring your flooring looks cohesive while maintaining durability.
LVT and Laminate Flooring Beading and Edging – A Closer Look
LVT and Laminate floor beading is specifically designed to complement the flooring systems. Many products are colour-matched to popular finishes, making it easy to achieve a consistent look.
A common question we hear is: do you need beading for laminate flooring?
Technically, alternatives such as silicone seals or under-skirting systems exist. However, beading for laminate flooring remains the most practical and widely used solution. It provides a neat finish, protects edges, and allows for proper expansion.
A typical setup for click LVT or laminate floor edging includes:
- Scotia or quadrant around the room perimeter
- T-bars or Transition Profiles between adjoining rooms
- End caps at doorways or exposed edges
Together, these elements form a complete click LVT or laminate flooring trim system that supports both function and appearance.
At QA, we always recommend planning your edging and trims alongside your flooring choice for the best results.
Wood Floor Beading
When it comes to wood flooring, material choice becomes even more important. Wooden floor beading, wood beading for floors, and beading for wood flooring are typically selected to match the grain, tone, and finish of the floor itself.
Solid wood or oak-effect trims are especially popular, as they blend seamlessly with engineered and hardwood flooring.
Using the right wood floor trim ensures a cohesive, natural appearance while still allowing for necessary expansion.
Colour and material matching are key to achieving a high-end finish.
Transition Strips – Joining Different Flooring Types
A transition strip is used to bridge the gap between two different flooring surfaces or expansion joints in a click LVT floor, ensuring a smooth and safe connection.
Common applications include:
- Carpet to tile transition strip
- Tile to carpet transition strip
- Carpet to vinyl transition strip
- Carpet to LVT transition strip
- Door transition strip installations
- LVT to LVT with an insert strip to colour match the floors
There are several types of floor transition strips, each designed for a specific purpose:
- T-bars: For joining hard floors of equal height
- Reducer strips: For transitions where there is a height difference
- Carpet bars: For securing carpet edges against hard flooring
For more challenging layouts, uneven floor transition strips or ramp-style profiles are ideal for handling larger height differences safely.
Installation tips:
- Always measure the gap accurately
- Choose the correct fixing method (self-adhesive, track-and-click, or screw-down)
- Ensure the strip matches both flooring types visually
- If bridging an LVT expansion gap, only fix to one side to allow movement
Properly installed transition strips not only improve appearance but also enhance safety and longevity.
Choosing the Right Profile – A Quick Reference
Selecting the right finishing option becomes much easier when you break it down:
- Perimeter of laminate or wood floor – scotia or quadrant
- Joining two hard floors (same height) – T-bar or Transition Strip
- Joining hard floor to carpet – carpet bar or reducer
- Doorway or exposed edge – end cap
- Different floor heights – reducer or ramp strip
Choosing your beading for flooring, floor trims, floor edging strip, and flooring edging trim before installation is essential. This ensures the correct expansion gaps are left and everything fits perfectly.
A well-planned moulding floor trim setup will always result in a cleaner, more professional finish.
The Finishing Touch That Pulls It All Together
The right flooring profiles and beading make a significant difference to both the look and performance of your floor.
They protect edges, allow for natural movement, and ensure every transition is smooth and visually consistent. Without them, even the highest-quality flooring can look incomplete.
At QA, we believe that attention to detail is what sets a great floor apart. By choosing the right trims and profiles, you’ll not only enhance the appearance of your space but also extend the lifespan of your flooring.
Explore the full range of beading, trims, and profiles at QA to find the perfect finishing touch for your project.